
Let's take a step by step look at putting together a complicated graphic in Fireworks.
This image was actually created in Photoshop.
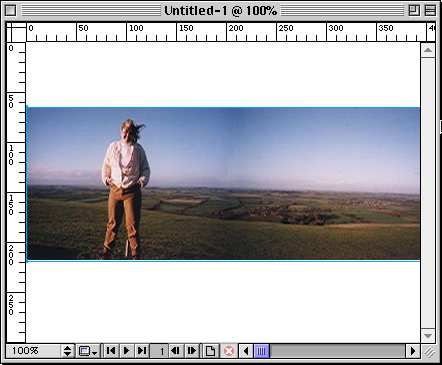
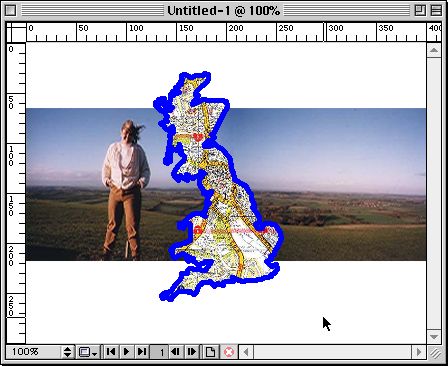
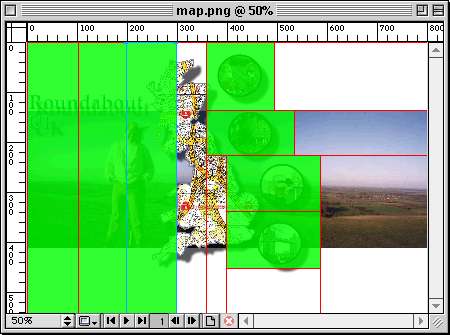
I had two pictures that were joined together to create this panoramic view of me standing on a hill overlooking Salisbury Plain in England.
The picture was imported into Fireworks.
This image was created by first taking a scan of an outline map of the UK
That outline was imported into Fireworks
On a new layer the outline was carefully drawn with the pen tool.
A black fill was added
The original scanned image (on the first layer) was then thrown away.
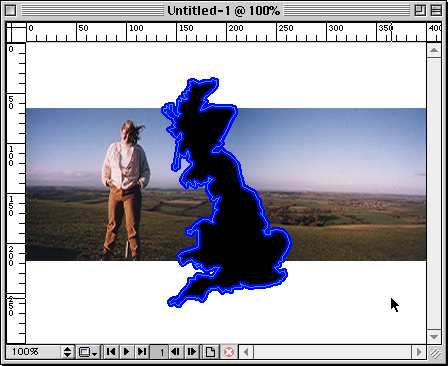
This left an outline image of the UK as a vector image.
The vector image outline of the UK was dragged and dropped on the photograph.
 Next,
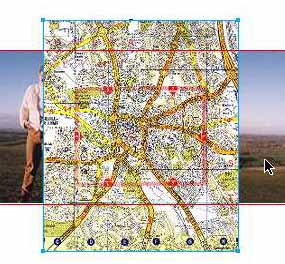
another scanned image (a map of Stoke on Trent) was set to be imported.
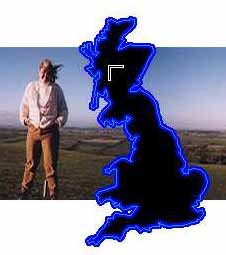
Notice how the cursor has turned into a 90 degree angle? This shows that
an image is set to be imported into the current document.
Next,
another scanned image (a map of Stoke on Trent) was set to be imported.
Notice how the cursor has turned into a 90 degree angle? This shows that
an image is set to be imported into the current document.
The map of Stoke on Trent as imported into the document.
The outline map of the UK was selected as well as the map of Stoke on Trent, then Edit>Paste inside.
The map of Stoke on Trent is now pasted inside the outline map of the UK
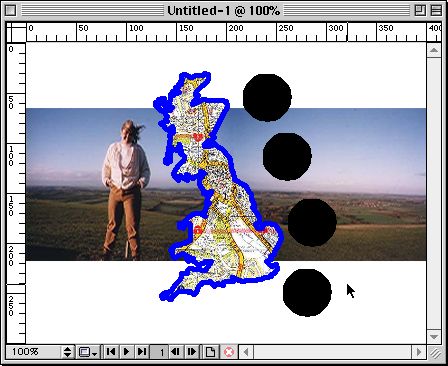
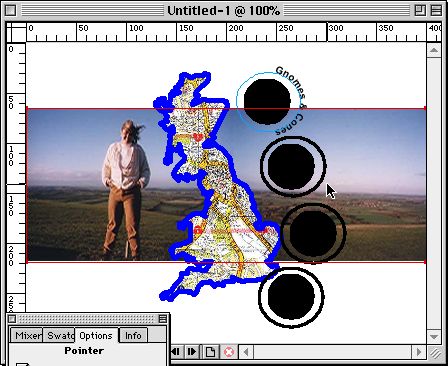
Now a filled oval was created.
This was copied three times, until there were four ovals.
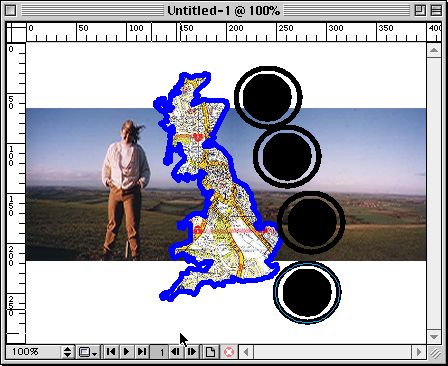
Now a Stroked oval (with no fill) was made, just a tad bigger than the filled oval.
Again, it was copied three times,
The text tool was selected and the text "Gnomes & Cones" was typed.
The stroked oval was selected, the text was selected and the text was attached to the path of the stroked oval.
To get the text to align the way I wanted (centered on the top of the oval) I selected alignment center, which caused it to be centered on the horizontal instead of vertical axis.
I then rotated the text 90 degrees counter clockwise to get the look I wanted.
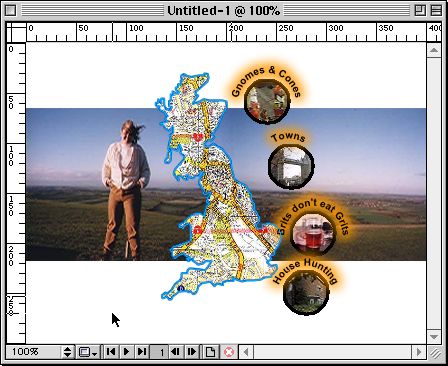
The text for the other buttons has been added, as well as an orange 'glow' around them.
This was chosen because of the dark areas where the text would have to be placed.
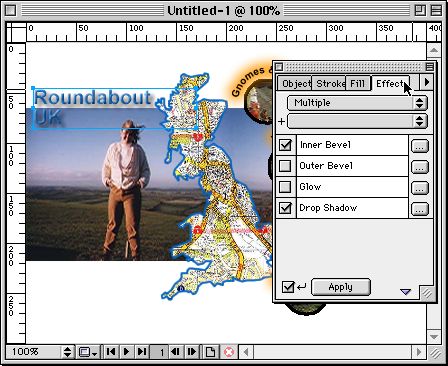
Next, the title of the piece is added.
Both an inner bevel and a drop shadow are applied
The drop shadow effect is saved so that the same drop shadow can be applied to the map and to the buttons
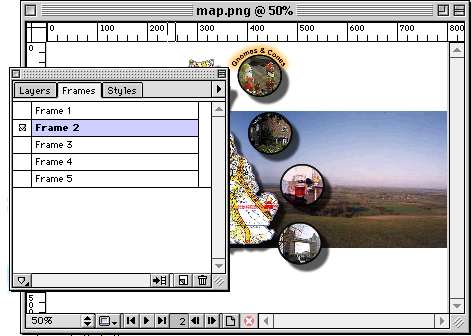
To have the title of the buttons appear when the cursor is on the button I first created five frames. All the elements of the graphic except for the button names were put on each of the five frames
Frame two held the title of Gnomes & Cones (the first button)
Frames three, four, and five each had a different name of a button.
Next, click back to frame one.
Using the slicing tool slice the first button
Notice that you can add a URL if you want. In the example that you will see in a minute I didn't add a URL, but when this is actually in use the buttons will be the navigation for the site and will have a URL attached.
Click the plus button in the Behaviors window.
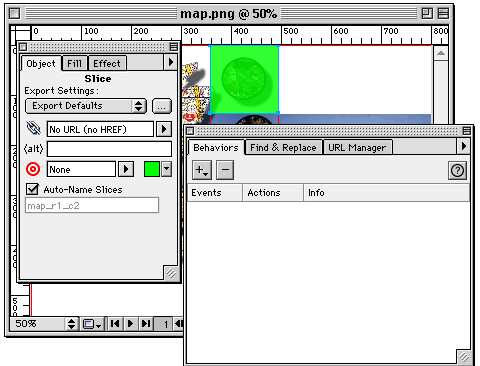
In the Swap Image window of the Behaviors Window you have the option of choosing which frame you wish to swap.
For the Gnomes & Cones button, that was Frame 2
Continue with slicing and adding the Swap Image behavior, each time changing the fame you wish to swap.
Once you have sliced all of the buttons, and created the Swap Image behaviors, continue to slice the image.
Export as usual.
Upload all the files to the server.
![]()
Web
Building tutorials: Intro | Fonts
| Backgrounds | Lists
| Layout | Tables
| Graphics | FTP
Photoshop tutorials: Getting
Started | Text | Backgrounds
| Filters | Icons
| Photos & Scanning
Fireworks tutorials: Getting Started
| Paths, Objects | Fills,
Strokes, Effects | Text, Effects |
Import/Export | Image
Map | Slicing |
Behaviors | Putting it all together